
How to Schedule Facebook Live and Give Viewers Notice
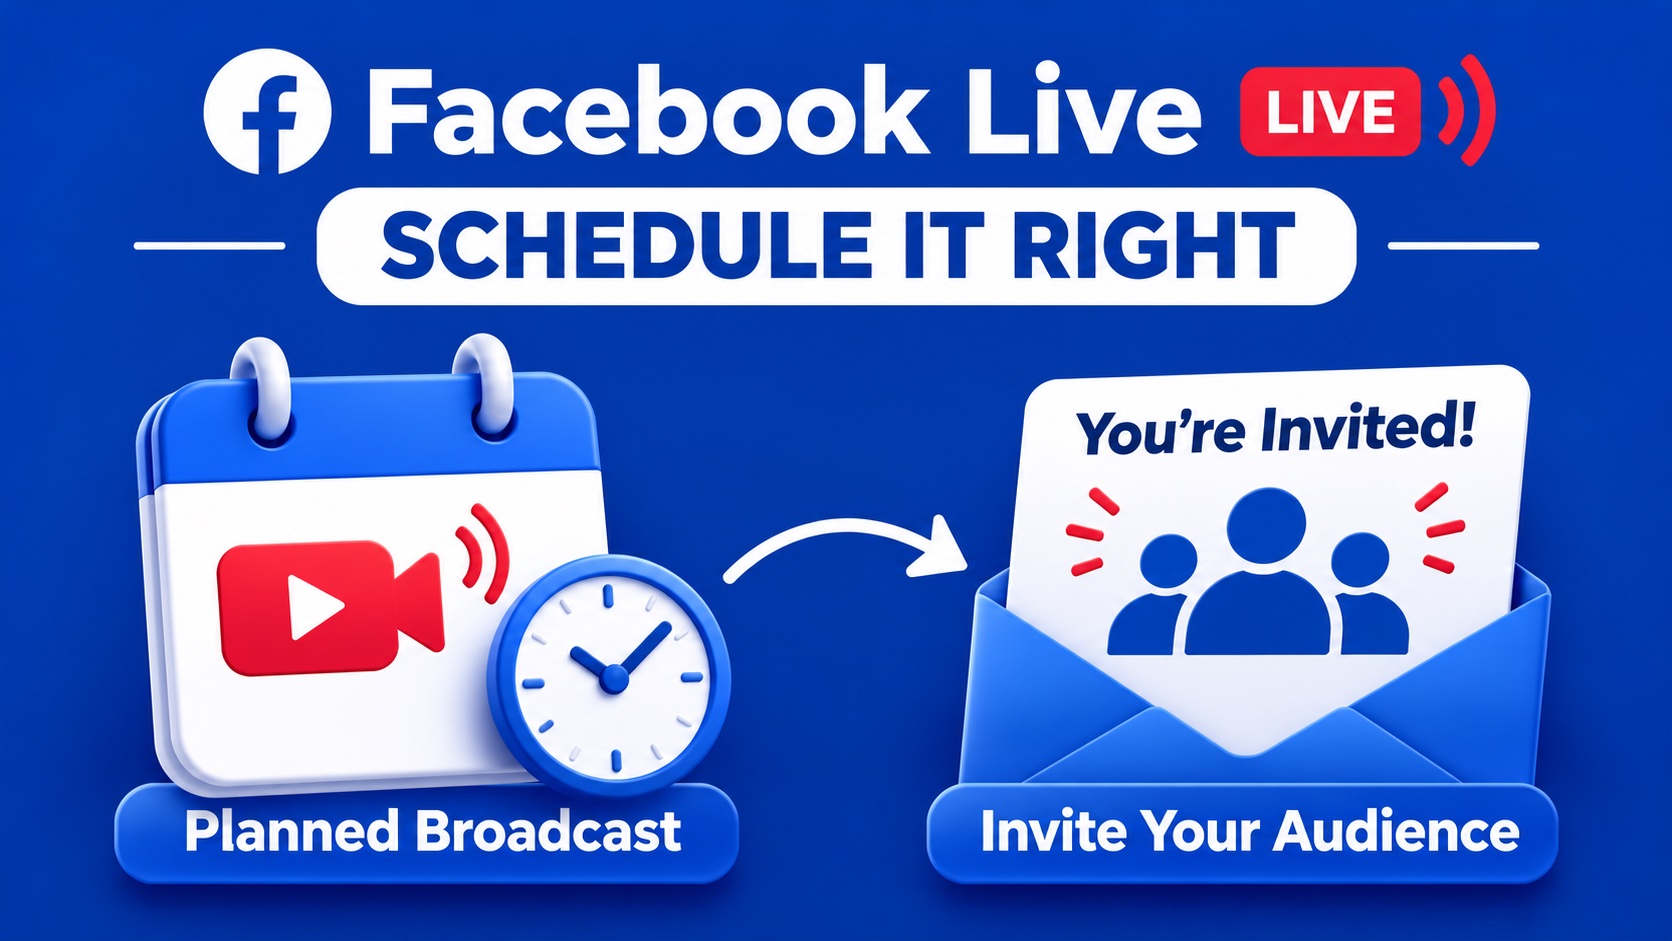
To schedule Facebook Live, first decide whether you need an event people can discover in advance or simply a broadcast that starts later. Facebook provides both, but they are not interchangeable. Choosing the wrong route can leave you with a scheduled video and no advance announcement for your audience.
For a workshop, interview or product demonstration, a live video event is usually the useful starting point. It gives the session a name, a time and a place to send people. You still need to prepare the broadcast and understand who will start it.
Choose between a live event and a later broadcast
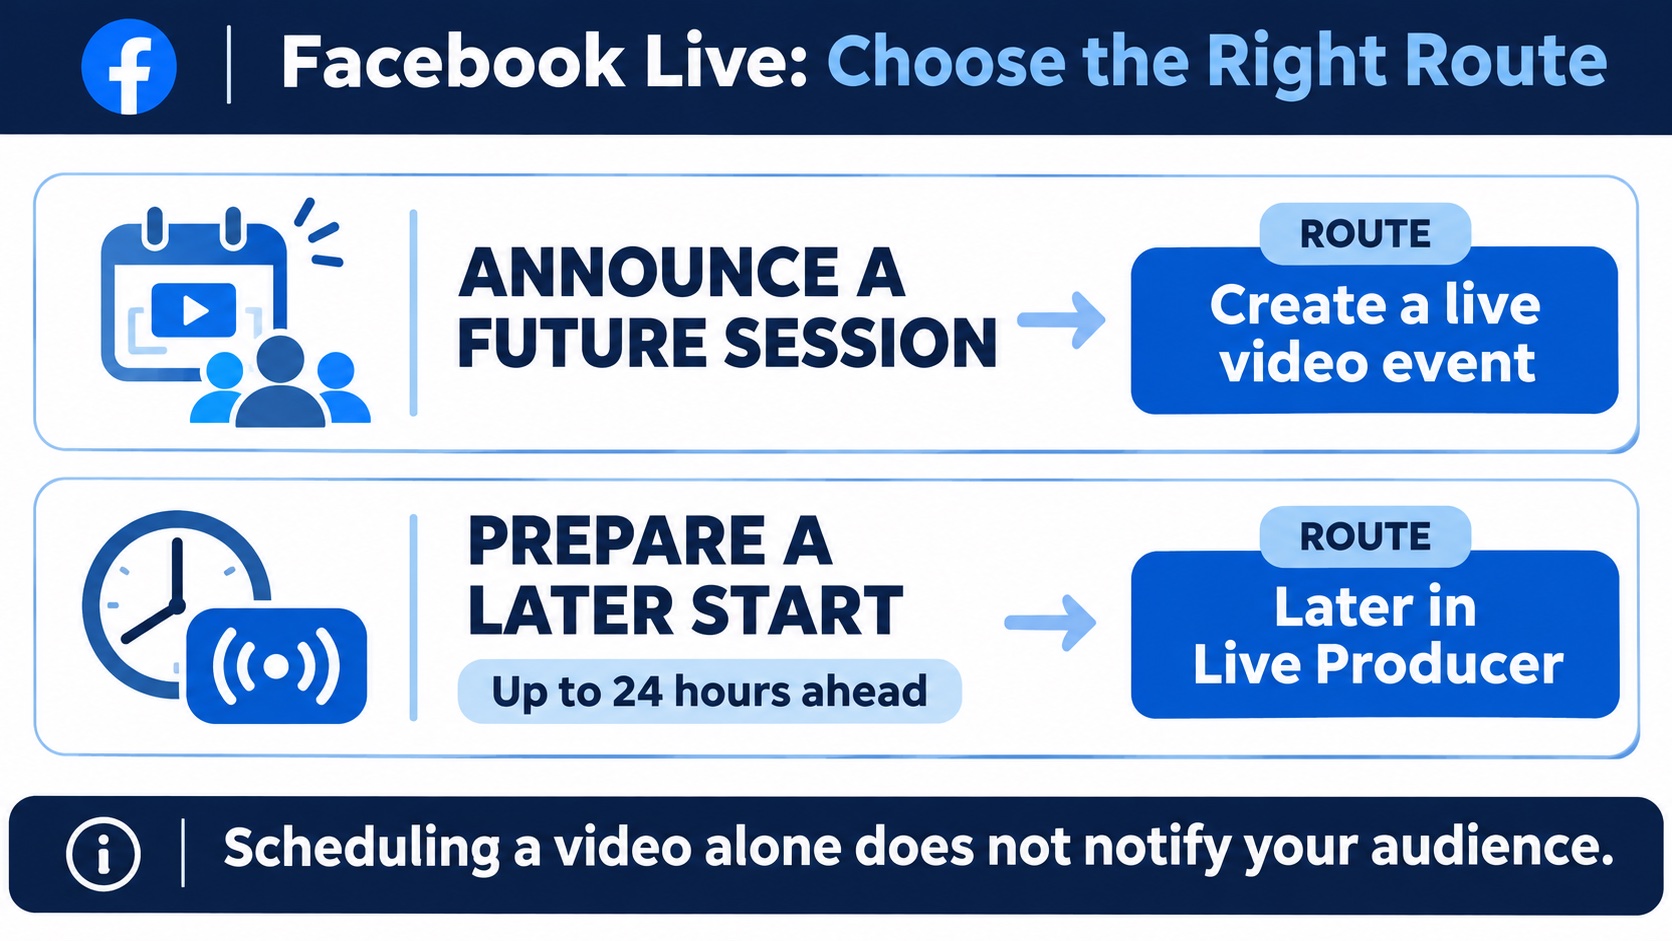
Meta’s current scheduling instructions say Live Producer can schedule a video up to 24 hours ahead. That action alone does not notify your audience. Meta directs people who want to announce a future broadcast to create a live video event instead.
Use that distinction before opening the setup screen. If you want people to plan around the session, create the event. If you only need to prepare the technical start of a broadcast within the next day, the Later option in Live Producer may be enough.
Neither route guarantees attendance. Your invitation still needs a reason to watch: a particular question answered, a demonstration people can follow or access to a conversation they care about.
Schedule a Facebook Live event on desktop
Meta documents event scheduling as a desktop task. Open Facebook on your computer and make sure you are working from the intended Page or profile. The official event guide gives this route:
- Select Live video from your feed, Page or profile. If necessary, open the post composer and find Live video among its options.
- Find Create live video event and select Create event.
- Enter the event name and description, then set its start date and time. Add an end time if it helps explain the session.
- Review the audience settings. Events hosted by a Page are public; check the choices available for the destination you selected.
- Continue through the remaining details and choose Create event. Read the confirmation and check the displayed date and time.
Give the title a useful promise. “Choosing a Microphone for Home Recording: Live Demonstration” tells a musician more than “Going Live Friday.” In the description, explain what you will compare and whether viewers can ask questions. Use the same wording when you share the event so people recognize it.
Use Later when you only need a scheduled start
For the Live Producer route, select where the video will appear, choose the Go live card and find When are you going live? Select Later, set the date and time, complete the broadcast setup and select Schedule live video.
Remember the 24-hour window and the lack of an advance audience notification from this scheduling action. If you wanted an announcement people could respond to, return to the live event route. Do not assume every tutorial using the word “schedule” describes the same Facebook feature.
Know what starts the broadcast
Creating the event is only the planning stage. Meta distinguishes between streaming software and a computer-based broadcast. With streaming software successfully connected to Facebook, the stream can start automatically at the scheduled time. A computer broadcast requires the host to start it from the scheduled broadcast controls.
For the computer route, open Live video, find Scheduled broadcasts and choose Set up live video for the correct event. Check the preview before using the start control. If you use an outside streaming service, follow its current instructions too; its controls may differ from Facebook’s own workflow.
Assign one person to operate the stream. A guest should know whether their arrival starts anything, who checks the microphone and who handles a delay. Write those responsibilities down before sending invitations.
Check the invitation as a viewer
After creating the event, open its public-facing page and compare it with your plan. Check the title, date, time, audience and destination. Confirm the time zone before putting a time in artwork or an email. For an international audience, include a named time zone in your written announcement.
Use an event image that makes the topic readable on a phone. A recognizable speaker or the item being demonstrated can help, but keep decorative details away from the main message. The image should agree with the event details rather than introduce a different start time.
Save the event link separately from your Page link. When the session begins, check the actual live video link as well. Those addresses serve different purposes, especially if you plan to promote the active broadcast.
Prepare a short host rundown
Rehearse the opening with the equipment you will use. Listen through headphones, check the camera framing and remove anything private from the background or shared screen. Have a colleague follow your instructions without extra explanation. If they cannot tell what the demonstration will teach, tighten the opening before asking a wider audience to spend time watching.
For the microphone demonstration, a simple plan could cover the opening question, two recordings made in the same room, a comparison and a short audience discussion. Tell viewers what to listen for before playing each example. Keep a written fallback ready if a guest or device becomes unavailable.
Audience promotion fits around that preparation. If you choose to buy Facebook live viewers, the service requires the public video link after the broadcast is live, rather than the advance event or Page link. Prepare the session first, then verify that destination. Additional viewing does not replace a clear opening or guarantee comments, inquiries or sales.
When the plan changes
If you change the start time, update the event and check the public details again. Correct any separate artwork or announcements you control. A saved setting is not enough if the invitation still tells people something different.
Before the next broadcast, record what made preparation easier and what caused confusion. Keep that short checklist with your event notes. The goal is a session people can find, understand and join at the right time.